Create a Door to a New World; 2rd Grade
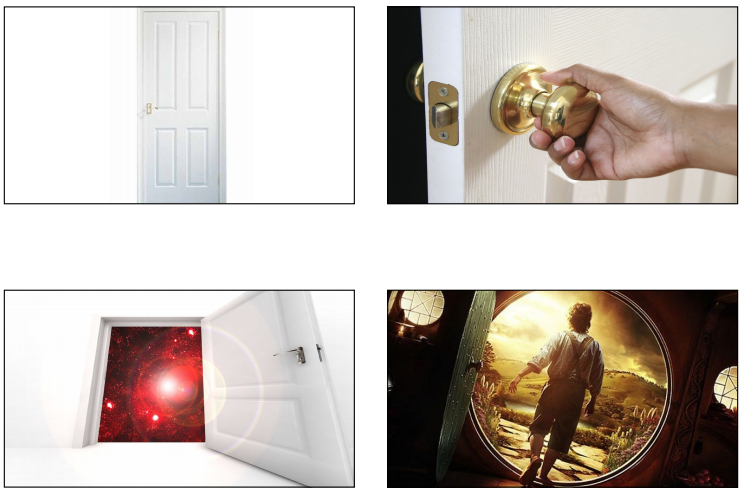
Students imagined opening a door to a new world, created a drawing/painting depicting the world they imagined over the course of a few days. We focused on drawing a scene using shapes and a horizon line.
Objectives
Provided inquiry questions and several prompts, SBWAT ideate and develop ideas of an imaginary world by discussing our thoughts as a class and writing/sketching their own ideas. (Blooms: Apply | Standard: Envision and Critique to Reflect | GLE: Visual arts use various literacies to convey intended meaning | AL: Literacy)
Provided instruction, SWBAT integrate shape, composition, and horizon line into their drawing by utilizing several shape templates and transferring information from my modeling. (Blooms: Analyze | Standard: Observe and Learn to Comprehend | GLE: Artists make choices that communicate ideas in works of art | AL: Numeracy)
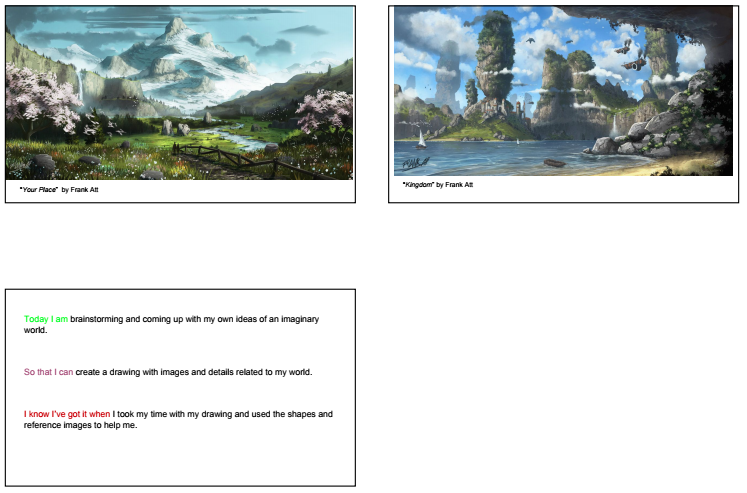
Provided images, SWBAT know the works of art “Kingdom” and “Your Place” by Frank Att, by recognizing them and talking about them. (Blooms: Understand | Standard: Relate and Connect to Transfer | GLE: Communicate observational response to works of art from a variety of social, emotional, and historical contexts | AL: Literacy)
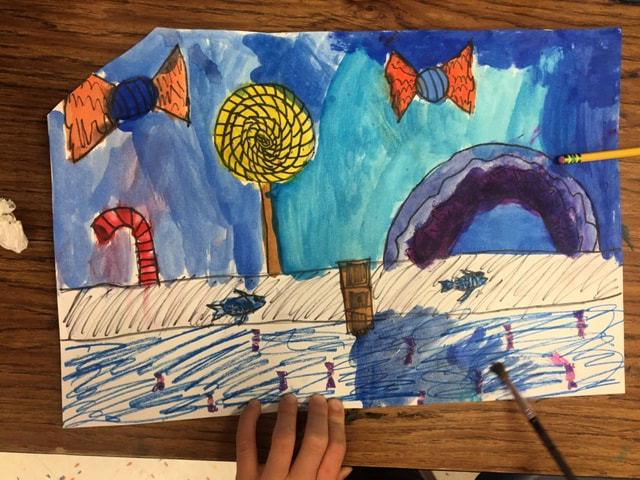
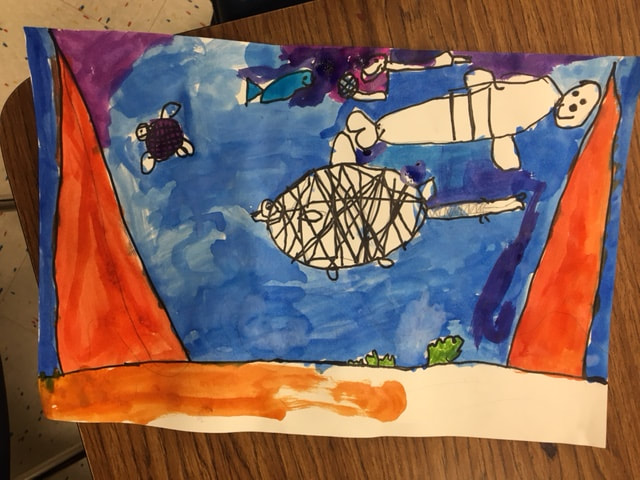
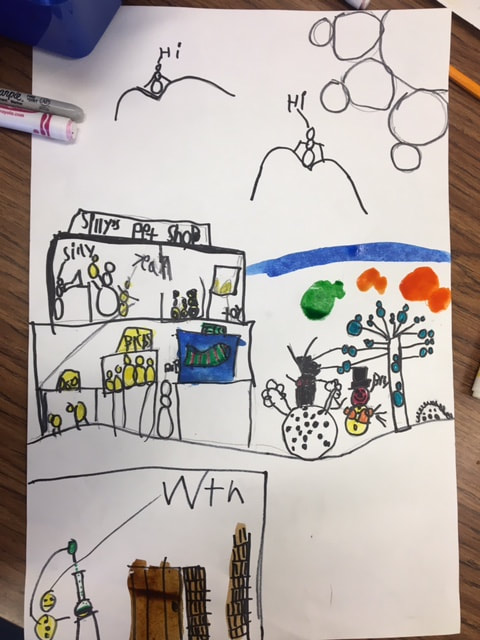
Using pencil, shapes, sharpie, and watercolor, SWBAT compose a drawing that represents an imaginary world of their choosing, by thoughtfully placing and drawing objects that exist in their world. (Blooms: Create | Standard: Invent and Discover to Create | GLE: Use familiar symbols to identify and demonstrate characteristics and expressive features of art and design)
Provided several questions and a gallery walk, SWBAT to reflect on their art-making process by talking about the world they created and why. (Blooms: Evaluate | Standard: Envision and Critique to Reflect | GLE: Visual arts use various literacies to convey intended meaning | AL: Literacy)
Provided inquiry questions and several prompts, SBWAT ideate and develop ideas of an imaginary world by discussing our thoughts as a class and writing/sketching their own ideas. (Blooms: Apply | Standard: Envision and Critique to Reflect | GLE: Visual arts use various literacies to convey intended meaning | AL: Literacy)
Provided instruction, SWBAT integrate shape, composition, and horizon line into their drawing by utilizing several shape templates and transferring information from my modeling. (Blooms: Analyze | Standard: Observe and Learn to Comprehend | GLE: Artists make choices that communicate ideas in works of art | AL: Numeracy)
Provided images, SWBAT know the works of art “Kingdom” and “Your Place” by Frank Att, by recognizing them and talking about them. (Blooms: Understand | Standard: Relate and Connect to Transfer | GLE: Communicate observational response to works of art from a variety of social, emotional, and historical contexts | AL: Literacy)
Using pencil, shapes, sharpie, and watercolor, SWBAT compose a drawing that represents an imaginary world of their choosing, by thoughtfully placing and drawing objects that exist in their world. (Blooms: Create | Standard: Invent and Discover to Create | GLE: Use familiar symbols to identify and demonstrate characteristics and expressive features of art and design)
Provided several questions and a gallery walk, SWBAT to reflect on their art-making process by talking about the world they created and why. (Blooms: Evaluate | Standard: Envision and Critique to Reflect | GLE: Visual arts use various literacies to convey intended meaning | AL: Literacy)
Imagining Our Worlds
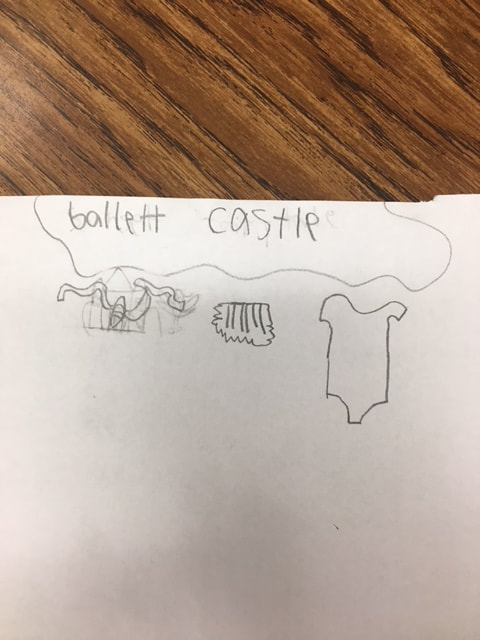
1. Separately and as class, students closed their eyes and envisioned opening a door to a whole new world. We spoke in a pair-share about what we imagined. I asked questions such as: "What color were the____in your world?"..."How big was it?"..."Was it cold?"
1. Separately and as class, students closed their eyes and envisioned opening a door to a whole new world. We spoke in a pair-share about what we imagined. I asked questions such as: "What color were the____in your world?"..."How big was it?"..."Was it cold?"
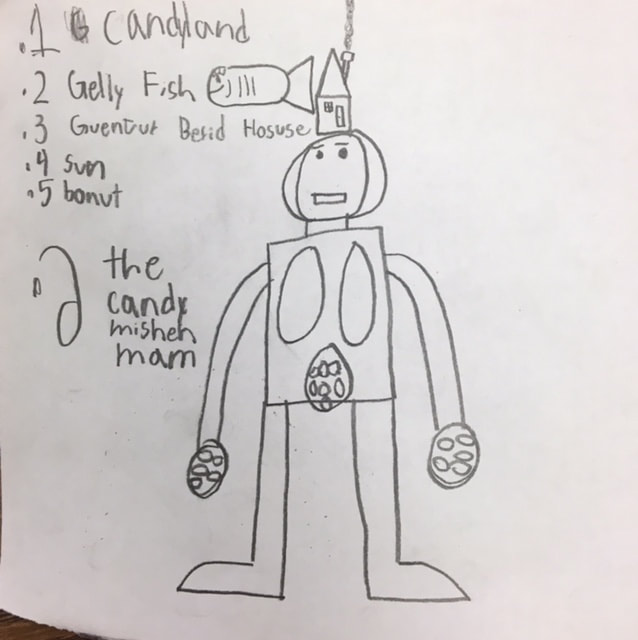
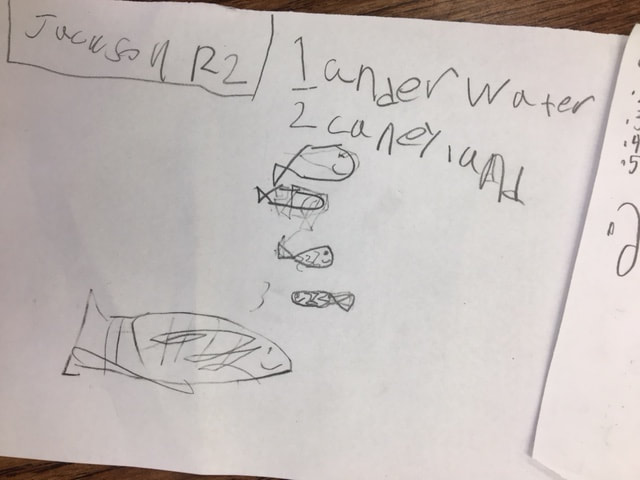
2. We then came up with a list of imaginary worlds as a class. Within that list, we voted on the top 3 ideas. Students were able to choose a world they would like to create from those 3. They then brainstormed their imaginary worlds as a plan for their project.

Beginning to Draw
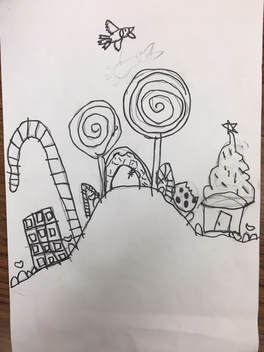
1. What is a horizon line? We discussed this is as a class. I modeled how to create a horizon line and emphasized that it was their choice for where it goes. "It should not look like mine."
2. Students had pages of reference images at their tables depending on what imaginary world they decided to create, as well as numerous different shapes to use as templates. Both were tools provided in order to assist students in the craftsmanship and ideation of their drawing.
We emphasized, as a class, that there is not one, correct way of drawing ANYTHING. You are your own artist and your art should be your own. The images are for you to get inspiration from, but that is not the only way to draw what you want to draw. Your's should be different and your own.


Adding Mixed Media
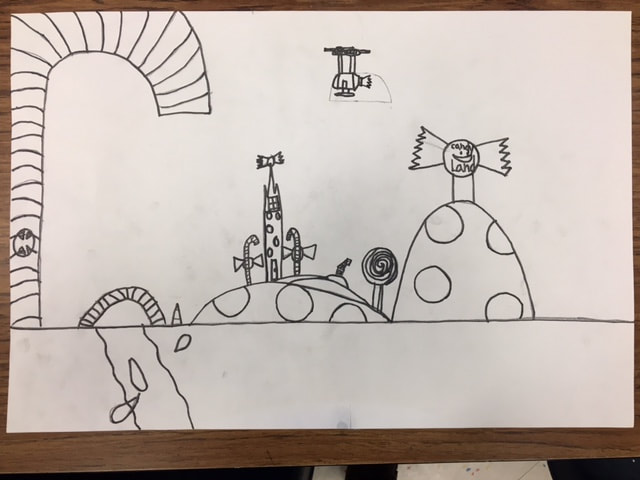
1. After completing our drawings with pencil, students outlined their pencil lines with sharpie. This step allowed students to have an easier time painting their images.
1. After completing our drawings with pencil, students outlined their pencil lines with sharpie. This step allowed students to have an easier time painting their images.
|
|
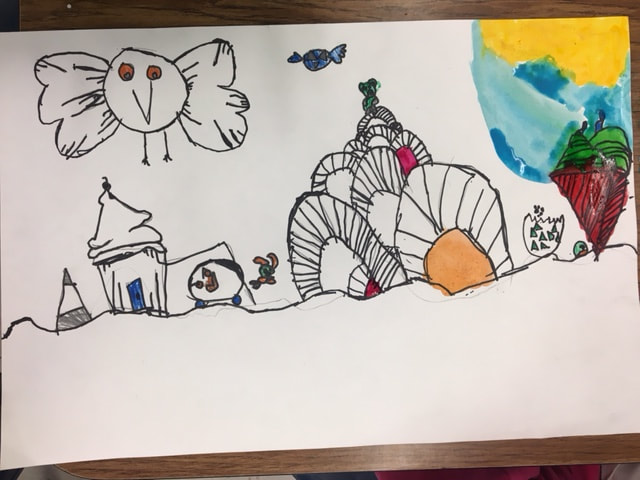
2. Finally, students finished their projects by painting them with watercolor. As a class, we discussed a few pointers about painting with watercolor:
-keep your brush wet
-if you put a wet color by another wet color, it will mix and bleed into each other
-don't leave any white space
-you can use marker for the smaller details that might be difficult with a brush
-keep your brush wet
-if you put a wet color by another wet color, it will mix and bleed into each other
-don't leave any white space
-you can use marker for the smaller details that might be difficult with a brush


Reflection
1. Students did a partner reflection activity.
-The first time, we paired up with a partner and answered "My favorite part of my own art is... because..."
-The second time, we paired up with a new partner and answered "My favorite part of your art is... because..."
1. Students did a partner reflection activity.
-The first time, we paired up with a partner and answered "My favorite part of my own art is... because..."
-The second time, we paired up with a new partner and answered "My favorite part of your art is... because..."
